6 Tips to creating your Wedding Mood Board
Well, hello again lovely readers. If you are early on in your wedding planning process, you may be starting to think about what your day will look and feel like. But, how do you ensure you have consistency throughout the design of your wedding? The best way to stay on track with your design concept is to create a ‘Mood board’, or ‘Inspiration’ board.
What is a Mood Board?
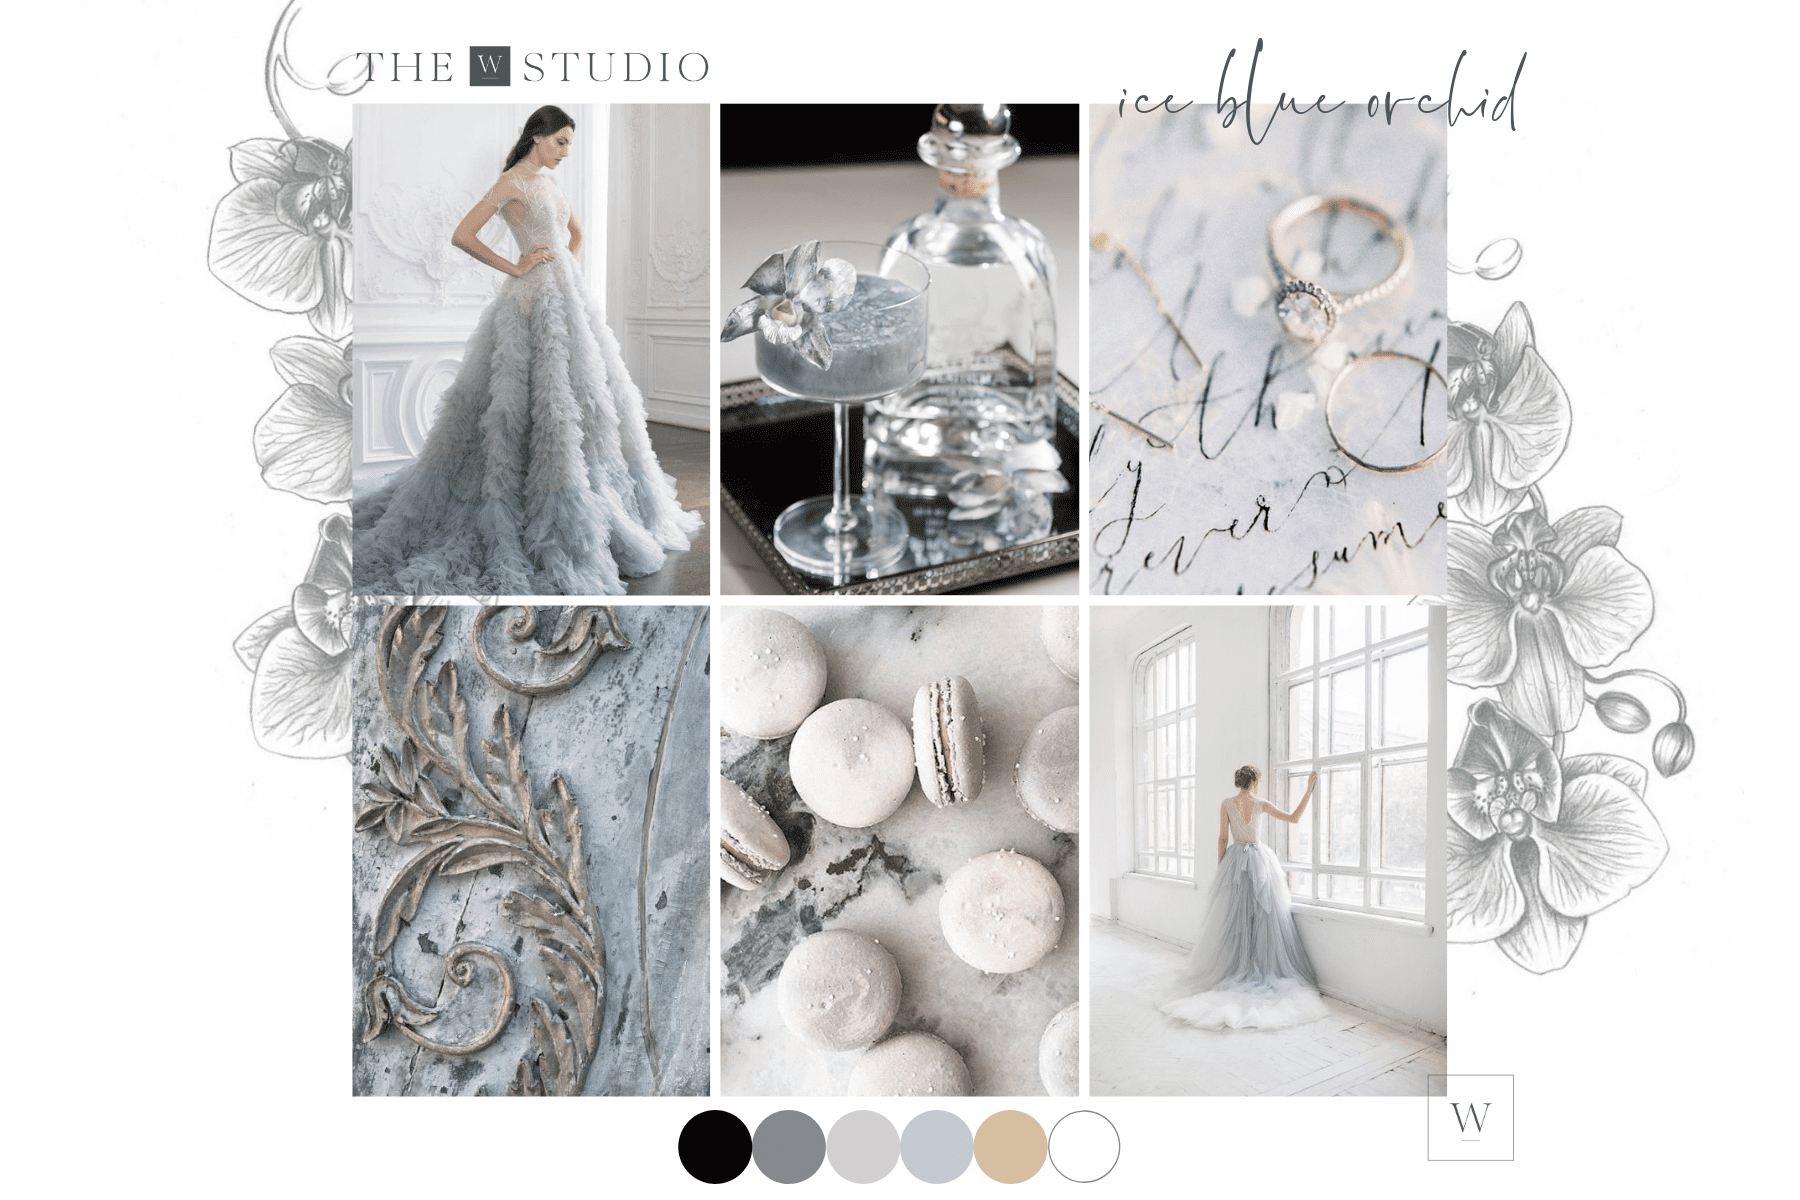
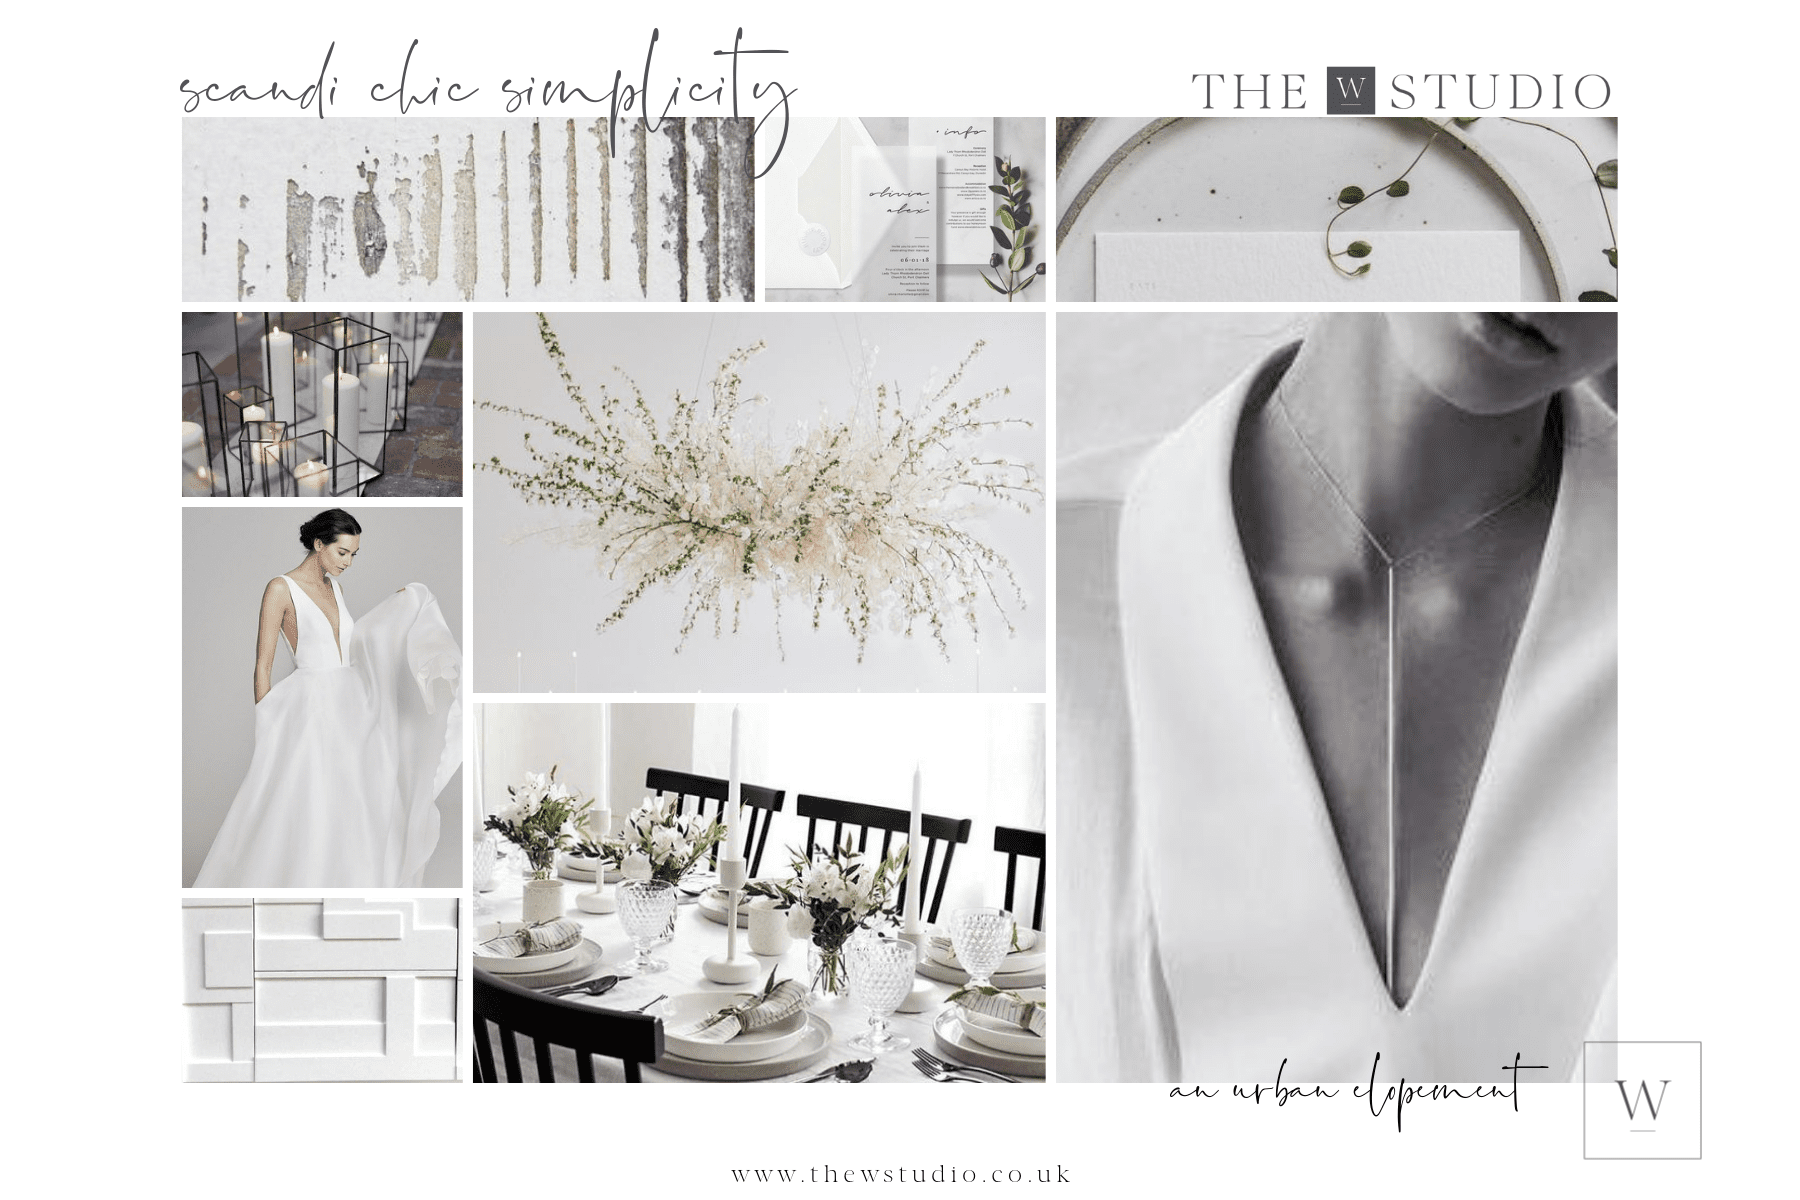
A mood board is a collection of images, colour swatches and sometimes fabric samples (on a physical board) which provide a visual representation of your wedding design – your ‘vision’. It can be produced as a physical board if you like to get hands on with a pair of scissors and a glue stick! Alternatively, you can create a digital document using images you compile from the internet. As a wedding designer and stylist, I create mood boards digitally for my clients as there is a never-ending source of imagery available to us online. And, there are some fantastic free design tools you can use to create a really beautiful board. For my own purposes, there’s nothing quite like playing around with images and swatches and creating a physical mood board.
The choice is yours, but have fun with it – you are designing YOUR day, so no choice is the wrong choice – it’s all about you!
The key is to project not only the ‘look’ of your day, but also the sense of feeling you are trying to evoke. It does not need to show the exact floral arrangement, dress or table design you will have. But rather, it showcases the style and mood of your day. As your planning journey progresses, it will form the basis on which all your styling and design decisions can be made. It helps to keep you focussed if you feel distracted by all the options out there! It is also a fantastic tool when you are communicating your vision to your wedding suppliers, such as your florist, cake designer and stationer, as it keeps everyone on the same page, ensuring you have a cohesive look and consistency across every element of your design.
How to Create your Vision.
1. Find your wedding style.
Before attempting to design your mood board, it is essential to first establish your ‘wedding style’. If you head straight to Pinterest you will quickly get lost down the rabbit hole of scrolling through thousands of wedding photographs. You are likely to end up pinning a huge number of totally different and inconsistent images and then get bogged down trying to piece them together into a consistent look! To help you find your wedding style, check out my post – “Finding your wedding style – Style Tips 101″
2. Brainstorm some key words
There is no particular art to this stage! Just grab a pen and paper and write down words that relate to the vision you have of your wedding. I find the best way is to have 2 lists. Words that represent the ‘look’ and words that represent the ‘feel’.
For example, words that represent the look might be:
Elegant, Luxurious, Opulent, Rustic, Feminine, Modern, Traditional, Timeless, Fashionable, Minimal, Ethereal, Industrial
Some words that could represent the feel:
Relaxed, Romantic, Fun, Laid-back, Warm, Extravagant, Wild, Adventurous, Intimate
You can add context to these words if you know any of the broader details of wedding. The season, venue, location, approximate guest numbers. For example, a wedding with 200 guests is not likely to evoke the feeling of intimacy, but it could be fun and relaxed.
3. Seek out visual inspiration
You can absolutely turn to Pinterest for this stage, but also consider what is around you. Remember, this is a conceptual interpretation of your wedding, so don’t just consider images of other weddings. Look to nature, art, literature, travel, fashion. Anything that inspires you and evokes the feeling and look you are trying to convey. Consider all the senses – touch, taste, sound, sight and smell. It could be the texture of the fabric of your favourite dress, the colour of your favourite flower, a line within a poem or the sound of the waves. The more personal the connection you have with each element, the more you will encapsulate your personalities and style within your design.
For the purposes of this post, let’s assume you are using Pinterest to compile your inspiration images. Utilise the organisation feature within the boards to group your images into design elements. Whilst we are still focussing on a concept rather than specific details, you can pin a few key detail to ensure they fit within the overall concept. I usually have sections for overall look and feel inspiration, colour inspiration, textures, floral design, tablescapes, fashion styles etc.
4.Refine your selection.
By now you are likely to have a board full of beautiful images! It’s time to stand back and pick out the images from each section which really epitomize your vision. Put these images together and ask yourself whether they are consistent. Do the colours compliment each other? Do the images evoke the the feeling you are trying to purvey? Remove any which stand out in conflict against the others. Try to choose a range of images. If you are only going to be using 9 images on your mood board, you don’t need 5 images of florals.
5. Creating the board.
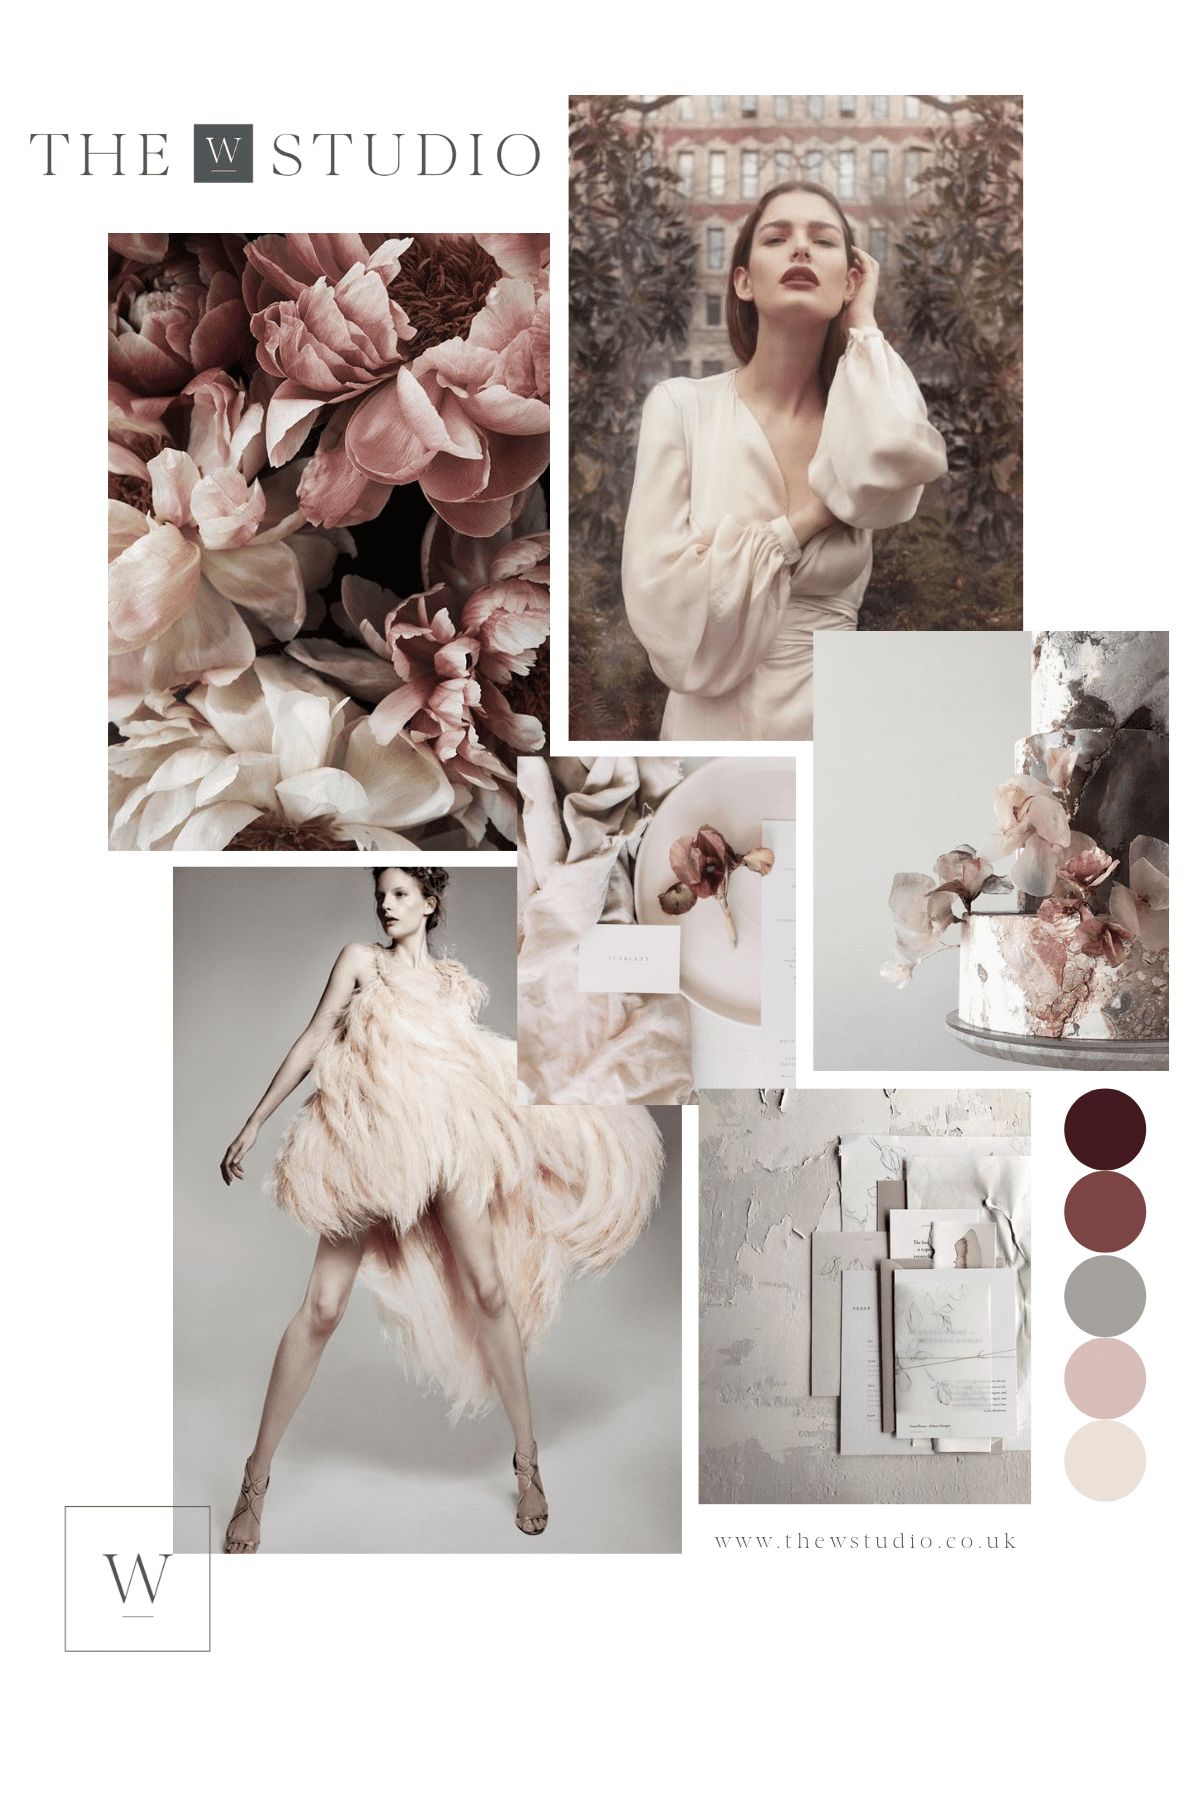
There is no hard and fast rule about how many images you should use on your mood board. However, try not to use too many, as the vision can get confused. Between 6 and 9 is usually enough. Remember you are not including every small detail at this stage. This comes later in the process, so don’t get too caught up in trying to represent every element. You can include a colour palette as a separate area of your board or you can let the images convey the colours, depending on your image choices. Don’t worry if you are not 100% sure what the colour palette should be – the board is a guide to base your design on and the ‘real life’ colour of certain flowers, linens etc, won’t match a digital colour exactly. It does, however, give your suppliers a good starting point for creating their designs.
To put your board together there are several great free online tools. I personally use Canva as it is really easy to use and has lots of grid templates to choose from. The free version offers plenty of variety for the purposes of designing a wedding mood board. The style of your board is completely personal so play with different grids and layouts to find one you that works for you.
Tip – upload more images than you need for your mood board and play around with the layout – switching images in and out until you have the perfect set of cohesive, well fitting images.
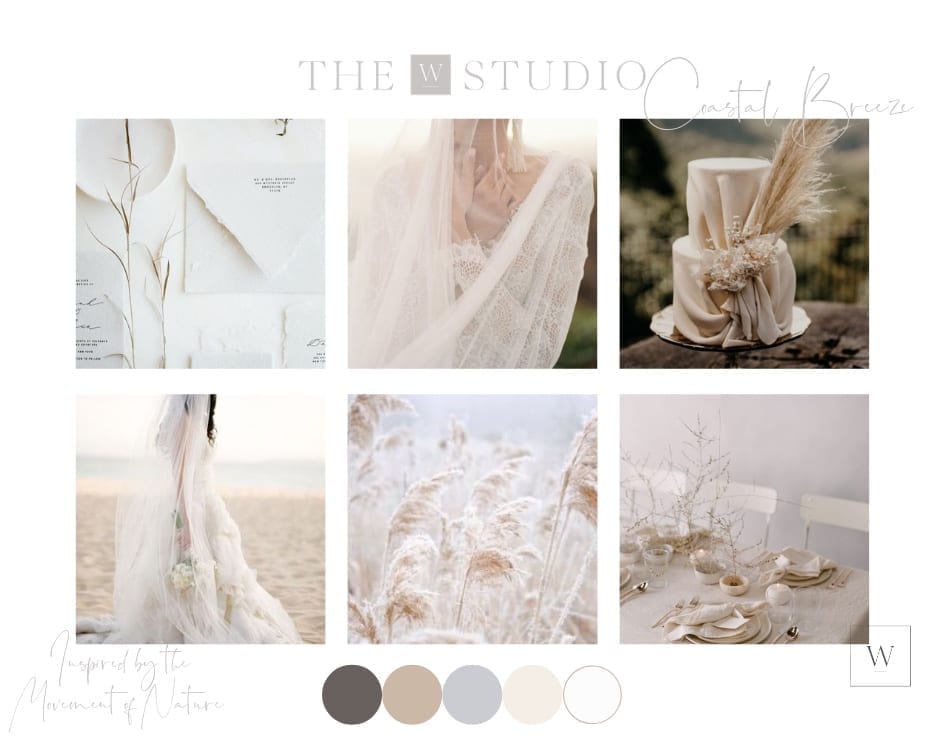
6. Choosing your colour palette
The images you have chosen will start to form your colour palette. You may have been drawn to certain colours from the start. Or, you may have had a clear idea of what colours you wanted and have based your image choices around this. If you’re still not sure, there are some great online tools which generate palettes from an image. I use Coolors but Canva also has its own version. Choose an image which most closely shows the colours you are leaning towards. You can then upload this image into Coolors which will generate a palette from the colours within that image. You can move the marker around the image to pick out different tones and colours until you have a palette you are happy with.
Each colour has a unique html (hex) code which you can then translate into the colour tool within canva to produce your colour palette on your mood board.
Communicate your vision!
Now you have your mood/inspiration board, you have the tool to communicate your vision to your key aesthetic suppliers. From here you can also start to fine-tune the details of each element and if the mood board bug has taken hold, you can even produce boards for each of these elements so that you end up with a complete look book covering every styling element down to the finest detail.
As a wedding designer and stylist, I produce 2-3 initial mood boards for my couples to choose from. Once we have decided on the overall look and feel of their day, I will create a comprehensive look book detailing every styling element, incorporating all the details which will bring the vision to life. If you would like to know more about my creative services please take a look at what we do.
Check back for the next instalment of ‘How to find your wedding style’ for more tips and advice for the early stages of your wedding planning journey.
Please Note: The links to external sources within this post are personal recommendations only – they are not affiliate links and I therefore do not receive any payment for these recommendations.


